To repurpose content for Instagram in 2026, film one vertical pillar video, then break it into ten native Instagram posts: three Reels cut with fresh hooks, a seven-slide carousel, two quote graphics, a transcript text post, a behind-the-scenes Story series and a pinned FAQ post. Always export clean 1080×1920 files with no TikTok watermark, and keep text in the central 60% of the frame.
Key takeaways
- Repurposing means rebuilding, not re-uploading: every version needs a new hook, format or caption to qualify as original.
- One 5–10 minute pillar video can become 3 Reels, a carousel, 2 quote graphics, a text post, a Story series and a pinned FAQ post.
- Never post with a TikTok watermark — Instagram makes watermarked Reels less visible and excludes them from recommendations.
- Export clean 1080×1920 files, keep text in the central 60% of the frame, and stagger TikTok and Instagram releases by 24–48 hours.
- Batch the whole system in about 90 minutes a week; repurpose only your best-performing pillar videos.
What Is Content Repurposing on Instagram?
Content repurposing on Instagram is the process of taking one piece of source material — usually a video — and rebuilding it as multiple native Instagram posts in different formats. Reposting uploads the same file twice; repurposing extracts the best ideas from the source and re-shoots them for each format, so every output feels made for Instagram. In 2026 that distinction matters more than ever, because Instagram's originality rules now hold back accounts whose output is mostly recycled or reposted material.
The classic framework behind this is Gary Vaynerchuk's "reverse pyramid": start with one pillar asset (a long video, talk or webinar), break it into medium-form derivatives (carousels, blog posts, email), then split those into short-form micro-content (Reels, quote graphics, Stories) and finally community content (polls, Q&As, pinned comments). Each layer feeds the next, so one recording session can fuel a week of publishing.
It is also where the industry has moved. HubSpot's State of Marketing 2026 lists repurposing across channels among the most popular digital marketing trends, and Wistia's 2026 State of Video Report found that over half of companies now repurpose their videos into social clips. Small creators can run the same playbook with a phone, a free editor and the system below.
How to Repurpose Content for Instagram 2026: The 1→10 System at a Glance
To use how to repurpose content for instagram 2026 as a system, start from one 5–10 minute pillar video and extract ten native Instagram posts from it — never by uploading the same file twice. This content repurposing strategy Instagram creators actually stick with works because each output targets a different surface (Reels, feed, Stories) and a different viewer behaviour. The real prize is getting one piece of content multiple posts on Instagram without repeating yourself.
| Step | Output | Format | What to post |
|---|---|---|---|
| 1 | Reel 1 | Reel | Strongest 30–45s clip, re-cut hook |
| 2 | Reel 2 | Reel | Second-best clip, different angle |
| 3 | Teaser Reel | Reel | Preview pointing to the full video |
| 4 | Key-points carousel | Carousel | 7–10 slides of the main takeaways |
| 5 | Quote graphic 1 | Feed image | The single strongest one-liner |
| 6 | Quote graphic 2 | Feed image | A stat or second quotable line |
| 7 | Transcript text post | Feed image + caption | A tight excerpt as the caption |
| 8 | Behind-the-scenes Stories | Stories | Filming clips, a poll, a link sticker |
| 9 | Pinned FAQ post | Feed post / comment | One common question, answered |
| 10 | Blog or recap post | Feed / Stories | Archive link or "what you missed" recap |
Notice what the system never does: it never uploads the identical file twice. Every output is a new edit, a new format or a new framing of the same idea. That is the line between repurposing (rewarded) and reposting (deprioritised) — and it is exactly what Instagram's 2026 originality rules ask for.
Turn YouTube Video Into Reels: How to Pick Your Pillar Video
To turn YouTube video into Reels, pick a pillar video that already has proven moments: strong retention spikes, quotable lines and a clear promise in the title. A 5–10 minute video works best — long enough to hold five good ideas, short enough that you can actually mine it. If you do not have a YouTube backlog, film a 5-minute vertical talking video answering one question your audience keeps asking.
The selection rule is simple: only repurpose winners. Check your analytics and repurpose the videos with above-median watch time, the most saves, or the most comments. A weak pillar video produces ten weak posts — the system multiplies quality, not just quantity. Skip anything that depends on YouTube-native context (long outros, end-screen links, "comment below" references) unless you re-shoot those parts.
Before you scale a format, test it safely: Instagram's trial Reels let you show a Reel to non-followers first and check the insights before committing it to your profile. Use trial Reels to audition your first cut from the pillar video — if the hook holds strangers, it will hold your followers too.
The 10-Step System: One Video Into 10 Instagram Posts
Here is the full 10-step system: each step produces exactly one Instagram post from the same pillar video, in publishing order. Work through the list once per pillar video — by the end you have three Reels, a carousel, two graphics, a text post, a Story series, an FAQ post and a recap, all scheduled across the next two to three weeks.
- Step 1 — Reel 1: the strongest clip with a re-cut hook. Pull the best 30–45 second moment from the pillar video and re-cut its opening so the payoff lands in the first three seconds. Add native captions (burn them into the video for accessibility), keep all text in the central 60% of the frame, and use an Instagram audio track rather than the original sound if it fits.
- Step 2 — Reel 2: the second-best clip, new angle. Take the next-strongest moment, but frame it differently — if Step 1 was a hot take, make Step 2 a how-to tip or a mistake to avoid. Same source, different lesson, different first frame. Never post two clips with the same opening line.
- Step 3 — Teaser Reel: point to the full video. Cut a 15–20 second trailer: the hook, one result, then "full breakdown on my YouTube — link in bio." This bridges your audiences and gives the pillar video a second wave of views.
- Step 4 — Carousel: the key points as 7–10 slides. Distil the video into one idea per slide: a cover with the promise, five to eight takeaway slides, and a final call-to-action slide. Carousels remain one of Instagram's strongest reach formats — see our Instagram carousel guide for the full 7-slide formula.
- Step 5 — Quote graphic 1: the single strongest one-liner. Pull the most quotable sentence from the transcript, set it in your brand font on a clean background, and post it as a feed image. Quote graphics are cheap to make and heavily saved when the line is genuinely useful.
- Step 6 — Quote graphic 2: a stat or second line. Use a surprising number, a before/after result, or the second-best line. Design it differently from graphic 1 (different layout, different colour) so the two posts do not look like twins in the grid.
- Step 7 — Transcript text post: the excerpt as caption. Choose a tight 100–200 word passage from the transcript, paste it as the caption with a branded cover image, and end with a question to earn comments. This turns one video into a readable feed post for followers who never watch video.
- Step 8 — Story series: behind the scenes. Post the filming setup, a blooper, a poll ("which tip should I expand next?") and a link sticker to the full video or the carousel. Stories do not need polish — they need personality, and they keep you visible between feed posts.
- Step 9 — Pinned FAQ post: answer one question. Take the most common question the video raises, answer it in a short feed post (or a pinned comment under Reel 1), and pin it to your profile. FAQ posts compound: they keep answering the question for every new visitor.
- Step 10 — Recap or blog post: close the loop. Either publish the repurposed blog version of the pillar video on your site and link it from Stories, or post a "what you missed this week" recap pointing followers to the full archive. This turns a finished series into evergreen traffic.
How to Reuse TikToks on Instagram Without Hurting Reach?
To learn how to reuse tiktoks on instagram without losing reach, export the original file from your editor — never download your video back out of TikTok. The download is where the watermark gets baked in, and Instagram has stated directly that it makes watermarked Reels less visible: they still reach your followers, but they are held out of Explore and recommendations, where non-follower growth comes from.
The rule is narrower than the folklore. Instagram's head Adam Mosseri has said that watermarking a Reel with your own logo is completely fine and does not affect reach — what Instagram tries not to recommend is Reels carrying logos from other apps. So add your own branding if you like, but strip the TikTok logo, username and any platform UI before the file touches Instagram.
Then adapt, don't just re-upload. Instagram's recommendations guidance also holds back Reels that are reposted versions of content already on Instagram, and removing a watermark does not make a repost original — Instagram's Help Center notes that superficial edits and credits do not meet the bar. Re-cut the hook, change the first frame, keep text inside the central 60% (Instagram's UI overlay covers more of the frame than TikTok's or YouTube's), rewrite the caption for Instagram's audience, and use native audio.
One practical timing note: stagger your releases. Post to TikTok first, then upload the clean, re-edited version to Instagram 24–48 hours later rather than posting both at once. Each platform then gets a version that feels fresh, and you double your chances of learning which hook performs better before you commit the format elsewhere.
⚠️ The new-account reality check
Repurposed clips on a brand-new account rarely get meaningful organic reach in their first weeks — Instagram needs real engagement data before it recommends you to strangers.
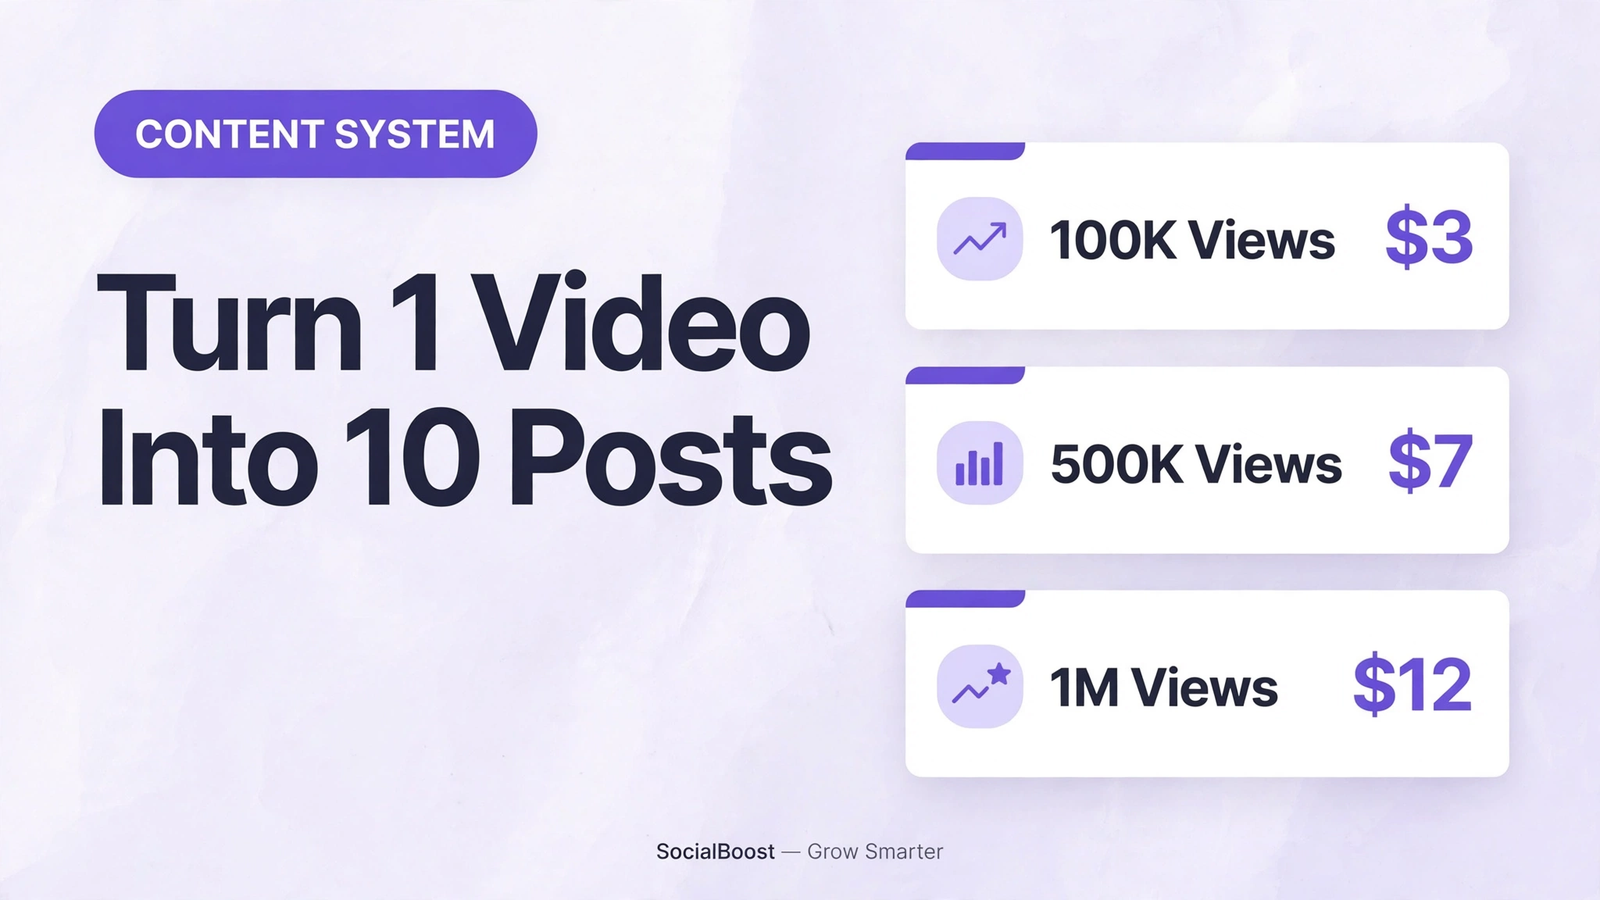
This is where a small, honest nudge helps: Instagram Views start at just $3 for 100K views, giving your first repurposed Reels the visible momentum that encourages real viewers to stop and watch.
How Do I Repurpose a Blog Into an Instagram Carousel?
To repurpose blog into instagram carousel form, pull seven to ten takeaways from the post and place one per slide: a cover with the headline, five to eight value slides with one tip each, and a final call-to-action slide. A 2,000-word article becomes a 10-slide carousel in about twenty minutes, because the research and structure already exist — you are reformatting, not rewriting.
The slide formula that performs best follows a simple rhythm. Slide 1 is the promise ("5 mistakes killing your reach") with high-contrast type. Slides 2–8 are the mistakes, one per slide, each with a one-sentence fix. Slide 9 is the call to action: "Save this for later" or "Follow for part 2." Keep all text large and inside the central 60% of the frame so nothing is clipped by the UI, and keep each slide to one idea — carousels with cramped slides get swiped past.
The caption does the second half of the work. Instagram's algorithm reads captions, so front-load the value proposition, end with a question that earns comments, and add three to five niche hashtags. Our Instagram carousel guide breaks down the full 7-slide formula with design templates you can reuse for every post.
What Are the Best Tools to Repurpose Video Content?
The best tools to repurpose video content cover four jobs: cutting, transcribing, designing and scheduling — and free options handle all four. CapCut or InShot cut your clips and export clean 1080×1920 files with no platform watermark baked in. That single export setting is the most important tool choice in the whole workflow.
Descript transcribes your pillar video automatically, which turns the "extract quotes" step into a five-minute job: search the transcript for your strongest lines, copy them into captions, carousels and quote graphics. It can also generate short clips from text selections, so you can rough-cut Reels by editing words instead of timelines.
Canva handles everything static — quote graphics, carousel slides and Story backgrounds — with brand kits that keep the ten outputs looking like one campaign. For scheduling, Instagram's built-in scheduler (in the app or Meta Business Suite) queues Reels, carousels and feed posts for free; a dedicated scheduling app only becomes worth paying for when you manage multiple accounts. No tool replaces the adaptation step, though — every output still needs its own hook, caption and framing before it goes live.
How Often to Repost Old Content on Instagram?
How often to repost old content on Instagram: refresh evergreen pieces no more than every 8–12 weeks, and never as the identical file. A re-edit counts as new; the same file with a new caption does not. Give the clip a new hook, a new first frame and a rewritten caption so it reads as fresh to both viewers and the algorithm.
There are two reasons for the discipline. First, a freshly posted Reel competes in recommendations far better than a months-old upload — Meta's own data has shown same-day posts making up a large share of recommended Reels — so the repost is only worth it if it earns that freshness. Second, your followers have seen the original: repeating the same post every few weeks trains them to scroll past you, which teaches the algorithm your content is skippable.
The smarter habit is to repurpose the refresh itself. When a rule changes or you learn something new, post the update as a new Reel ("Update: this changed in 2026") and pin it next to the original. You get the freshness boost, you correct the record, and your archive becomes a living resource instead of a dusty feed.
The 90-Minute Weekly Batch Workflow
The 90-minute weekly batch workflow is: film the pillar video on day one, cut everything on day two, design and schedule on day three. Batching beats daily creation because the expensive work — thinking of ideas and setting up the camera — happens once, and everything after it is assembly.
- Day 1 (30 min) — Record the pillar. Film one 5–10 minute vertical video answering a single question. Save the raw file to your own storage, not to an app's draft folder — this is the clean master every output is cut from.
- Day 2 (35 min) — Cut the clips. Export Steps 1–3 (the three Reels) from CapCut or InShot at 1080×1920 with no watermark, each with a re-cut hook and burned-in captions. Run the transcript through Descript and highlight the lines for Steps 5–7.
- Day 3 (25 min) — Design and schedule. Build the carousel, the two quote graphics and the text post in Canva from one template set. Queue all ten outputs in Instagram's scheduler across the next two to three weeks, staggering at least a day between the three Reels.
Watch the first week's insights before scaling. The Reel with the best save-to-view ratio tells you which hook style to reuse next week; the carousel with the most shares tells you which topic deserves the next pillar video. One disciplined week teaches you more than a month of random posting — and it is why so many UK creators choose SocialBoost to add early momentum while the system learns.
And when a repurposed Reel starts moving, strengthen the signal: Instagram Likes from $0.70 per 1K turn a promising clip into a post that looks worth watching, which is exactly what convinces the next wave of viewers to stop scrolling.
Final Thoughts: Post More, Burn Out Less
The creators who post consistently in 2026 are not working ten times harder — they are filming once and publishing ten times. The 1→10 system gives you three Reels, a carousel, two graphics, a text post, a Story series, an FAQ post and a recap from a single video, all rebuilt natively so every output stays eligible for recommendations.
Pick one pillar video this week and run the system end to end. By the time the tenth post goes out, you will have two to three weeks of content scheduled and a clear read on which hooks your audience saves — and that is the compounding loop that makes repurposing the highest-leverage habit on Instagram.
Want a hand getting the first posts moving? Message us on WhatsApp — Instagram Views from $3 and Likes from $0.70 give your repurposed content the visible social proof it needs to start from credibility, not zero.
Frequently Asked Questions About Repurposing Content for Instagram
Export the original file without the TikTok watermark and upload it directly — never re-download it from TikTok; the download bakes the watermark in. Instagram makes watermarked Reels less visible and excludes them from recommendations to non-followers, while your logo is fine. Re-cut the hook, keep text in the central 60% of the frame and rewrite the caption for Instagram.
CapCut or InShot handle the basics — trimming clips and exporting clean 1080×1920 files with no watermark. Descript transcribes your video and lets you pull exact quotes for captions and carousels. Canva turns those quotes into branded graphics. Finally, Instagram's built-in scheduler (or a trusted scheduling app) lines up the ten posts so the system runs itself.
Refresh evergreen content every 8–12 weeks at most, and never as the identical file — re-edit the clip with a new hook, first frame and caption so it reads as new. Freshly posted Reels compete far better in recommendations than months-old uploads, and repeating the same post to followers every few weeks quickly trains them to scroll past you.
Not if it is genuinely yours and adapted. Instagram's originality rules target accounts whose output is mostly other people's content, and since April 2026 they can lose recommendations to non-followers. Re-uploading the same unchanged file also earns less visibility. Re-edit every version with a new hook, format and caption, and you stay on the right side of the rules.
A carousel. Pull seven to ten takeaways from the post and put one per slide: a cover with the headline, five value slides with one tip each, and a final call-to-action slide. Keep text large and inside the central 60% of the frame, end the caption with a question to earn comments, and link the full post in your Stories.
You can, but stagger them. Post to TikTok first, then upload the clean version to Instagram 24–48 hours later with a rewritten caption and native audio. Posting simultaneously with the TikTok watermark attached is the worst option — Instagram holds watermarked Reels out of recommendations, and identical posts give each platform's algorithm nothing new to reward.